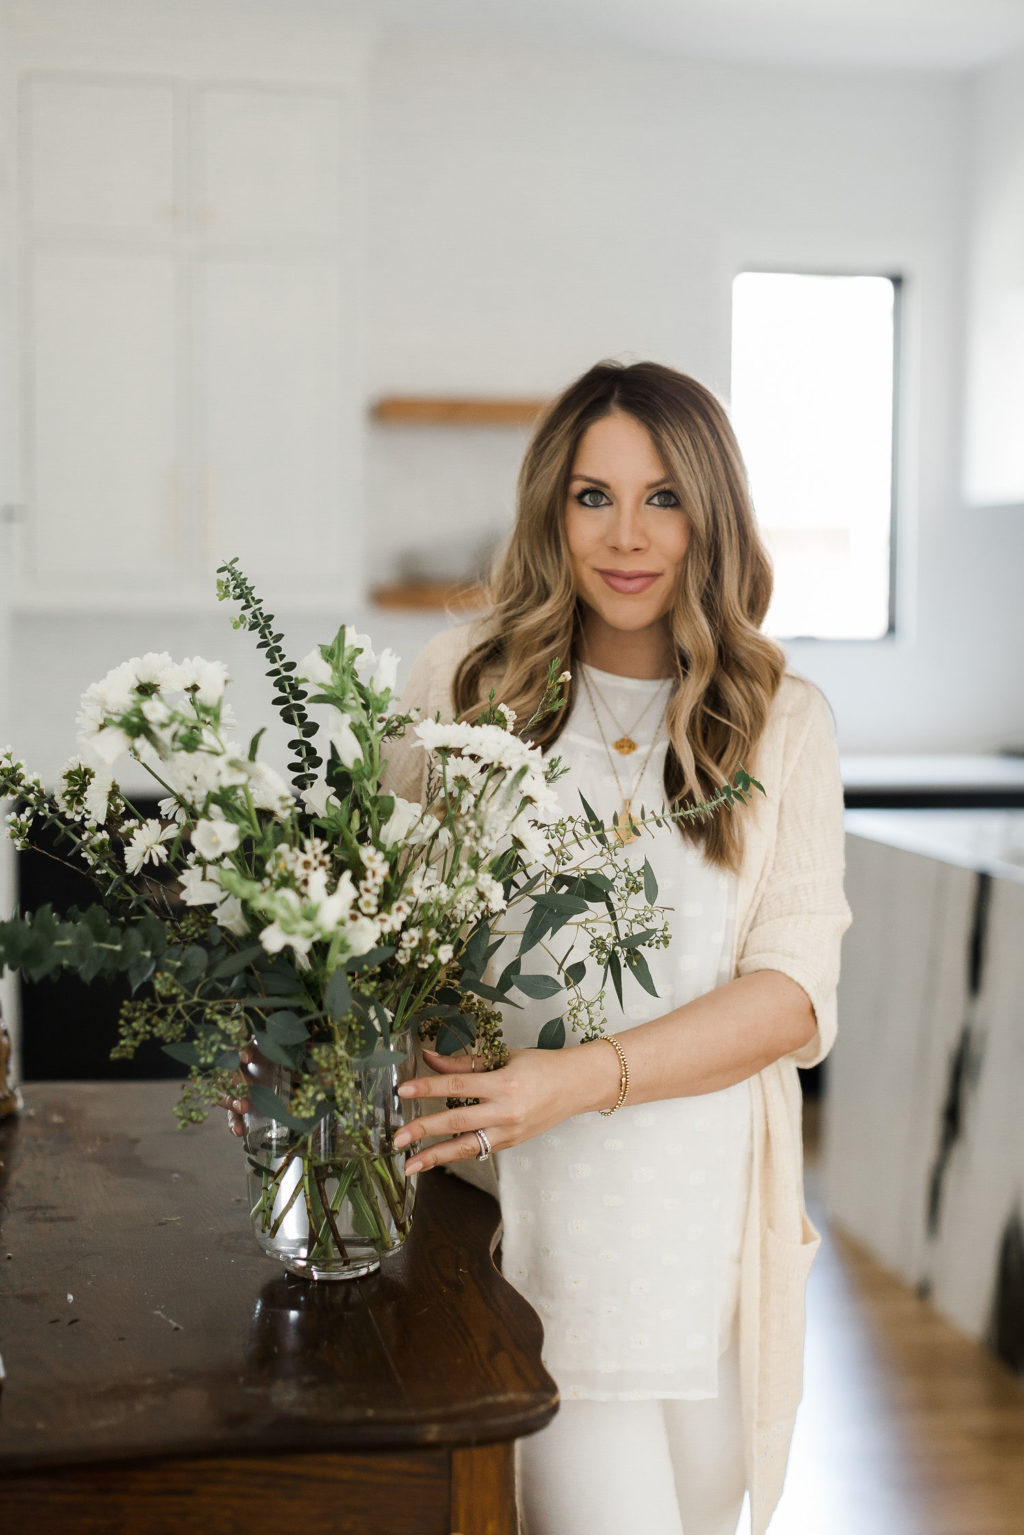
One of my favorite things about summer is getting to have fresh flowers in the house. I’ve always loved putting together flower arrangements and this season always tends to have the best variety for us in Dallas.
I really don’t have a fancy method that I follow, it’s more about the creative process that I enjoy. But there are a few tips that I stick to if I’m looking to create this whimsical arrangement at home.
Editor’s note: always pick a cohesive theme. I wanted this to feel neutral, so I kept my base green and found white flowers. All of these came from the grocery store and cost about $30. Which isn’t bad considering I had some leftover to make a smaller arrangement.
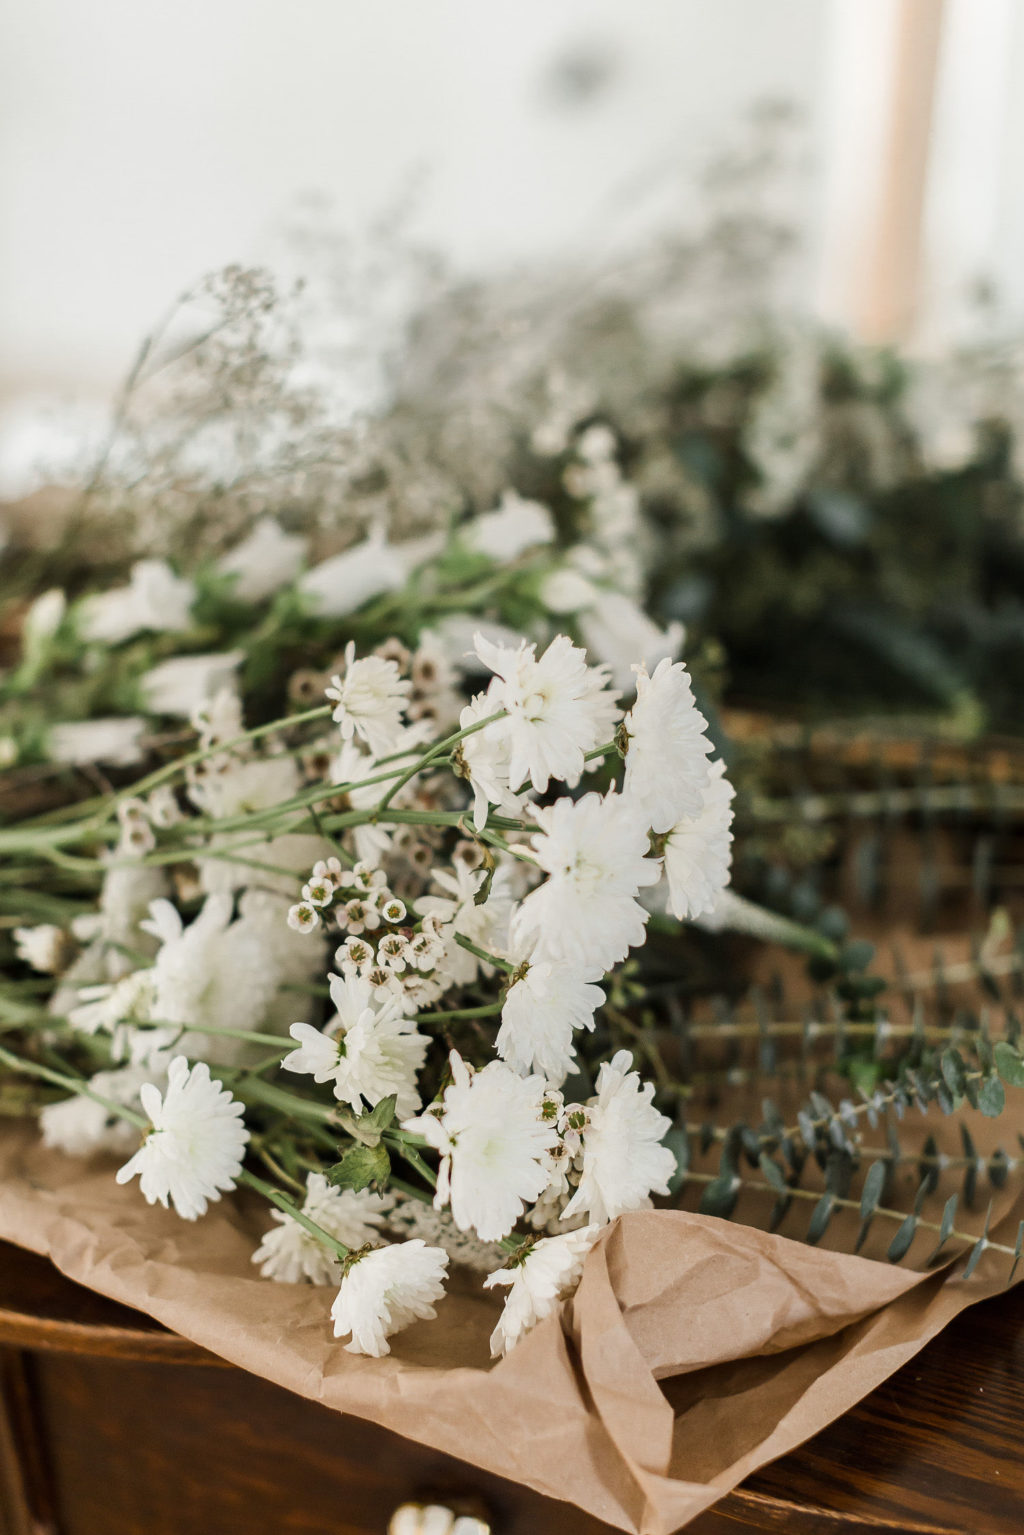
DIY WHIMSICAL FLORAL ARRANGEMENT
1. Pick a vase that scales well with the arrangement you are trying to create. This was for a centerpiece, so I wanted something that would allow me to have a fuller look.
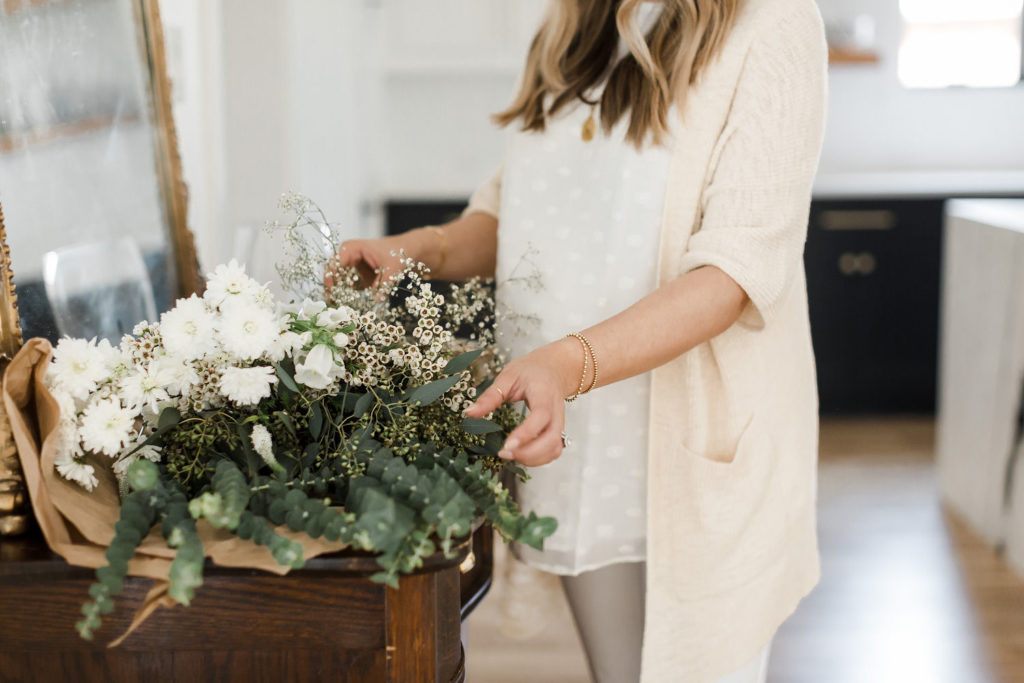
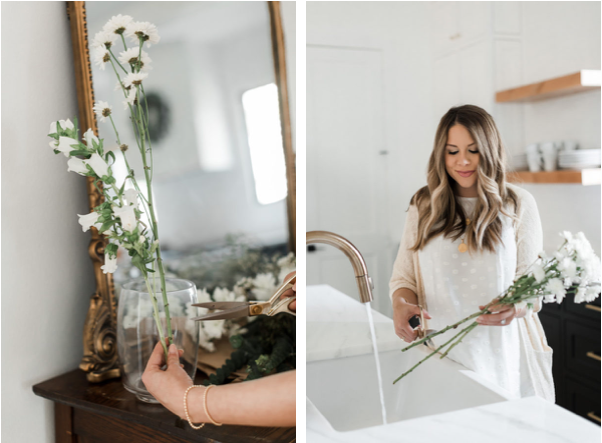
2. Measure and cut your flowers. I always cut a few inches off the stem, but it’s a good idea to hold it up to your vase and decide what looks best. Cutting your stem on an angle will allow the flower to get the maximum amount of water, subsequently making it last longer. Don’t forget to add the flower food packet!
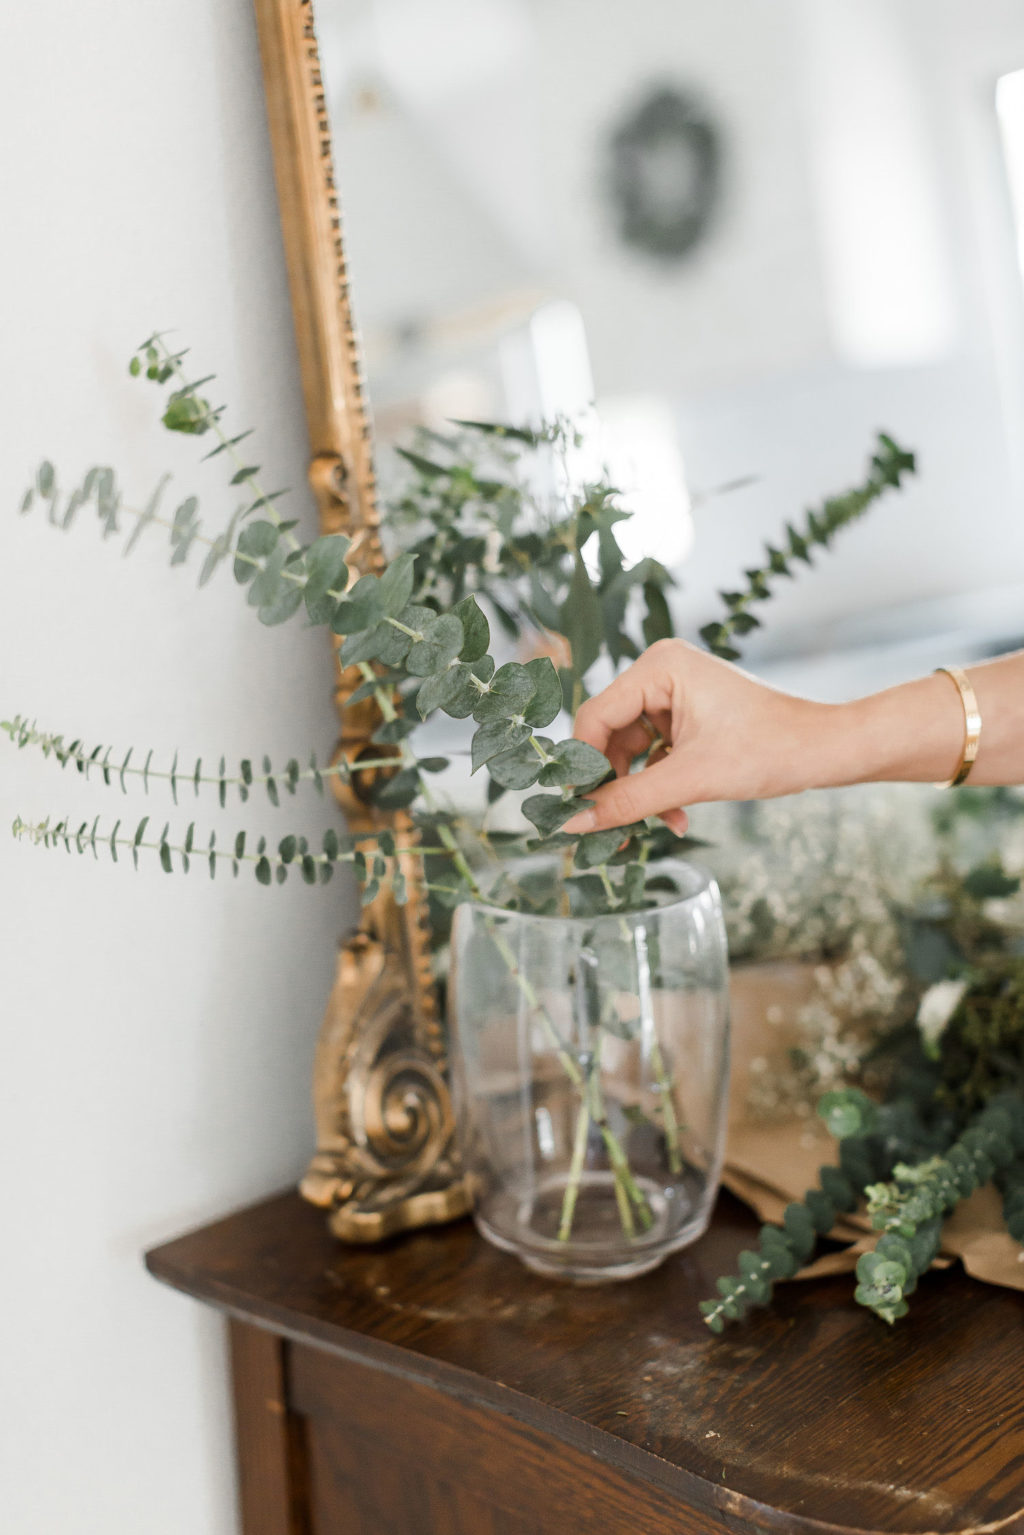
3. Start adding your base. I think of the base as the leaves or greenery. I love eucalyptus leaves and wanted a couple of different types for this arrangement. Don’t worry if this isn’t taking shape yet. I always add extra at the very end.
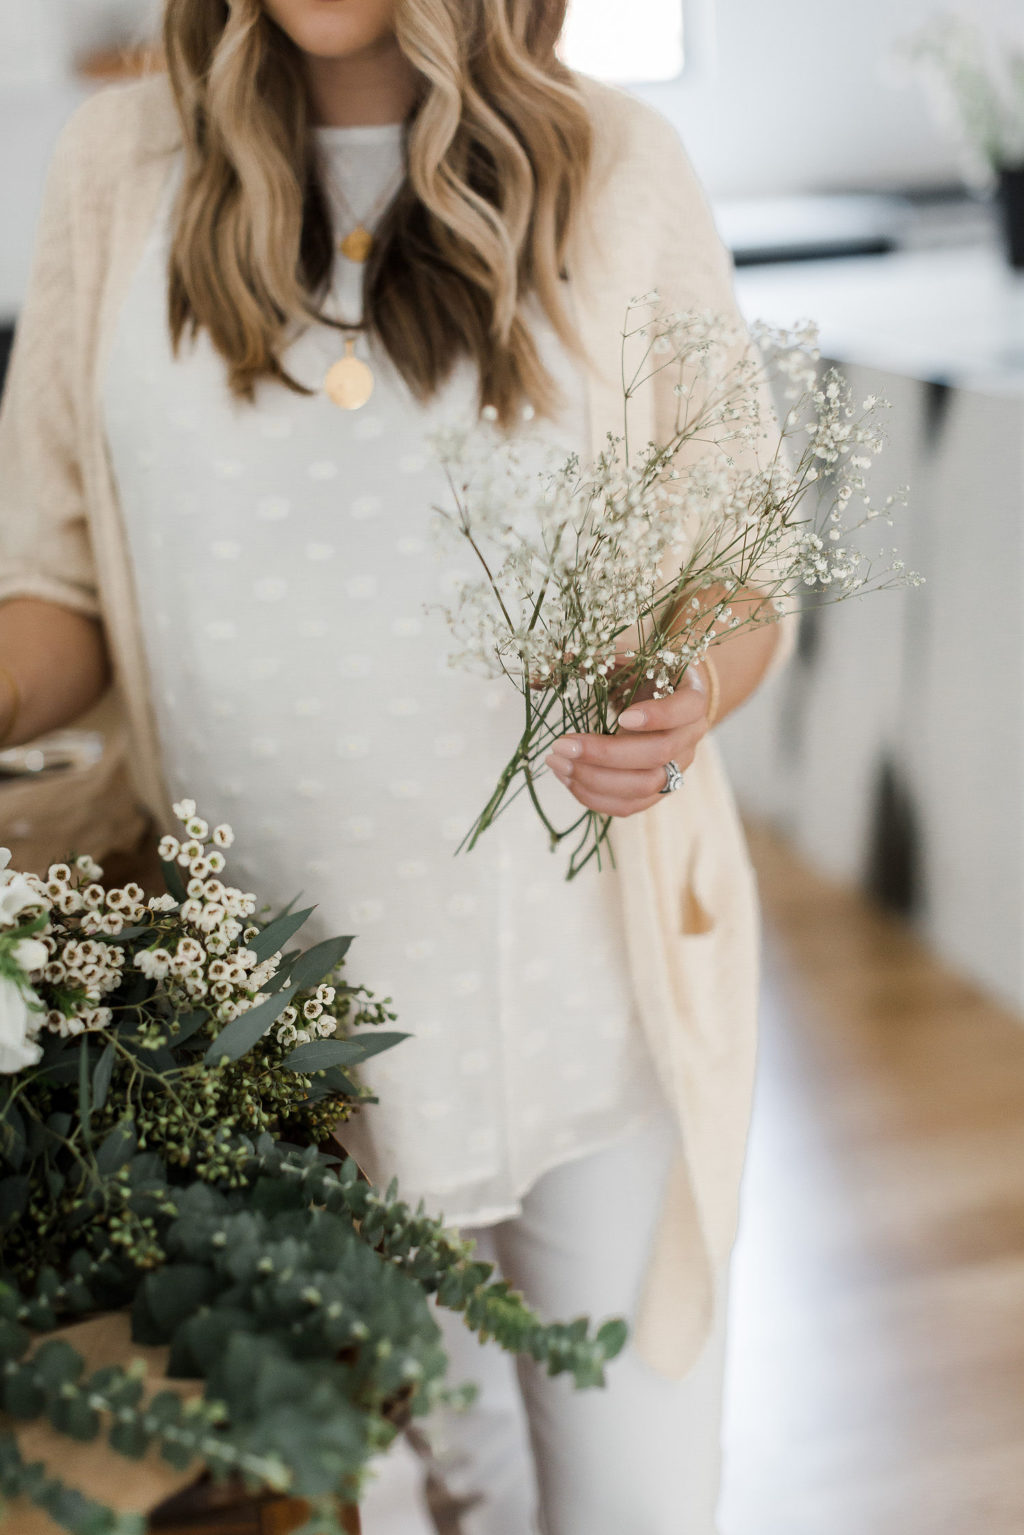
3. Grab your smaller flowers for filler. I used Baby’s Breath (use sparingly, don’t go overboard) and a few branches with white blossoms. Start placing these in-between your base leaves. Make sure your height and shape are starting to look the way you want. Since this is a whimsical arrangement, there is beauty in this not feeling “perfect”. I personally like to have one side with a longer branch cascading down and the other side
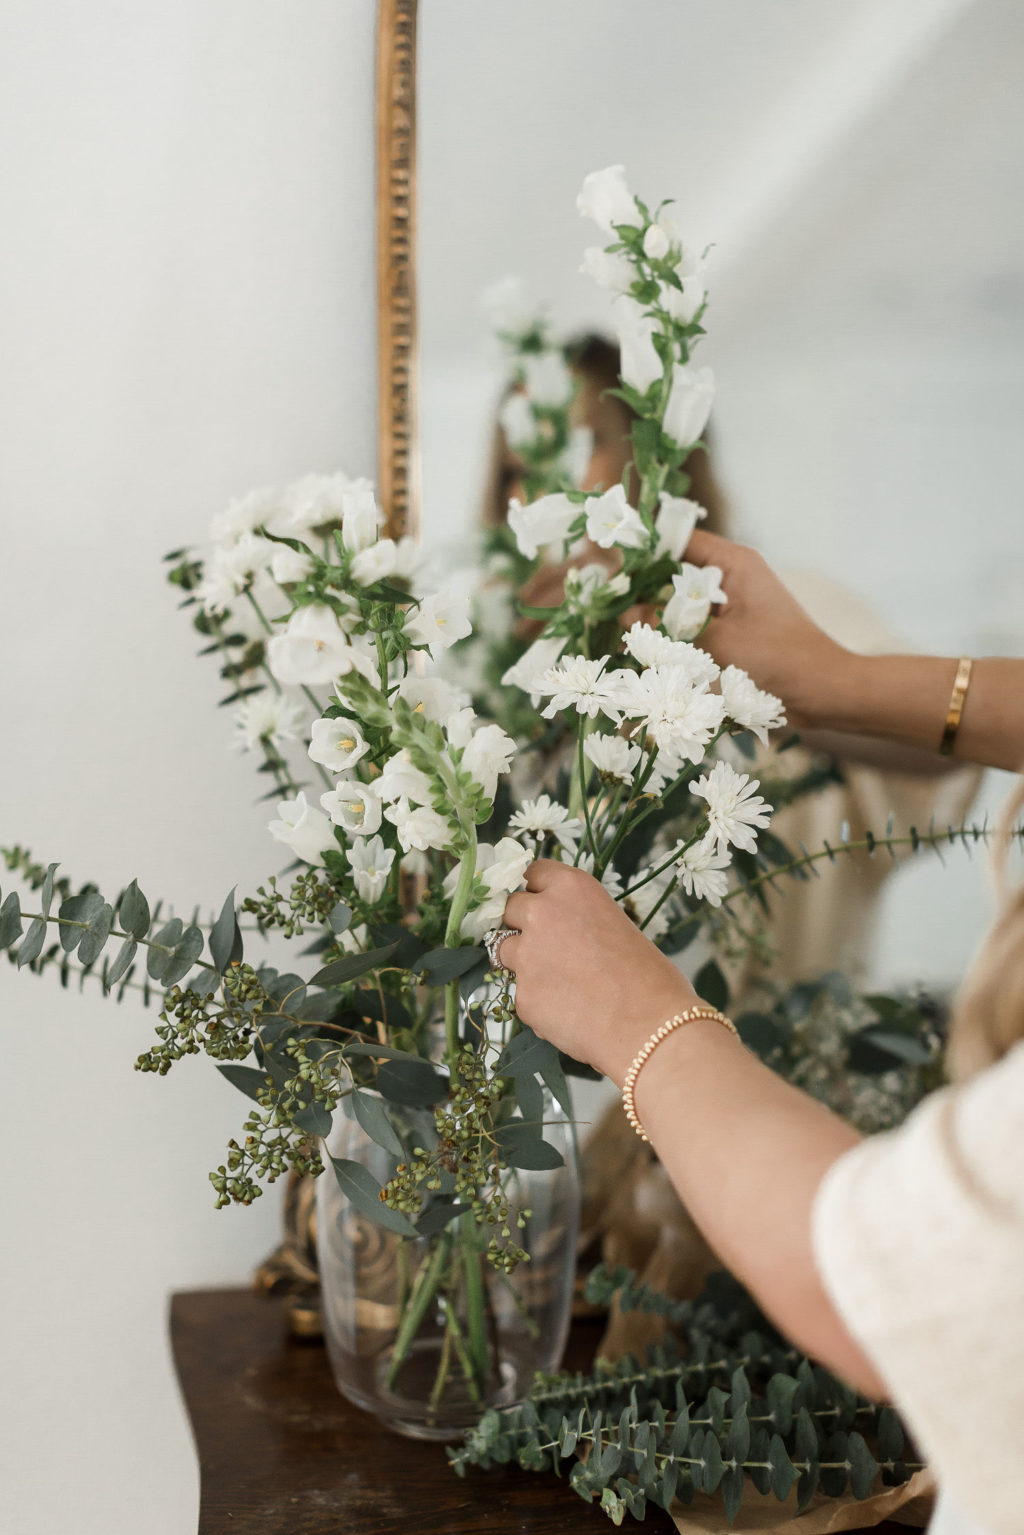
4. Add in your main flowers. I wanted this to feel very “just got back from the flower market” so I went with a more organic approach. Meaning, I steered clear of my normal roses or hydrangeas and opted for flowers that reminded me of summer and didn’t feel so polished.
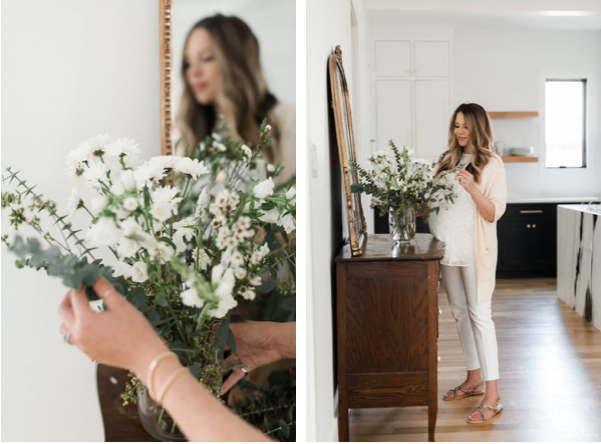
5. Review and add more eucalyptus if needed. This is the time I usually throw in a few more branches to get the shape I am desiring. I like to keep one side a little heavier and off balanced.
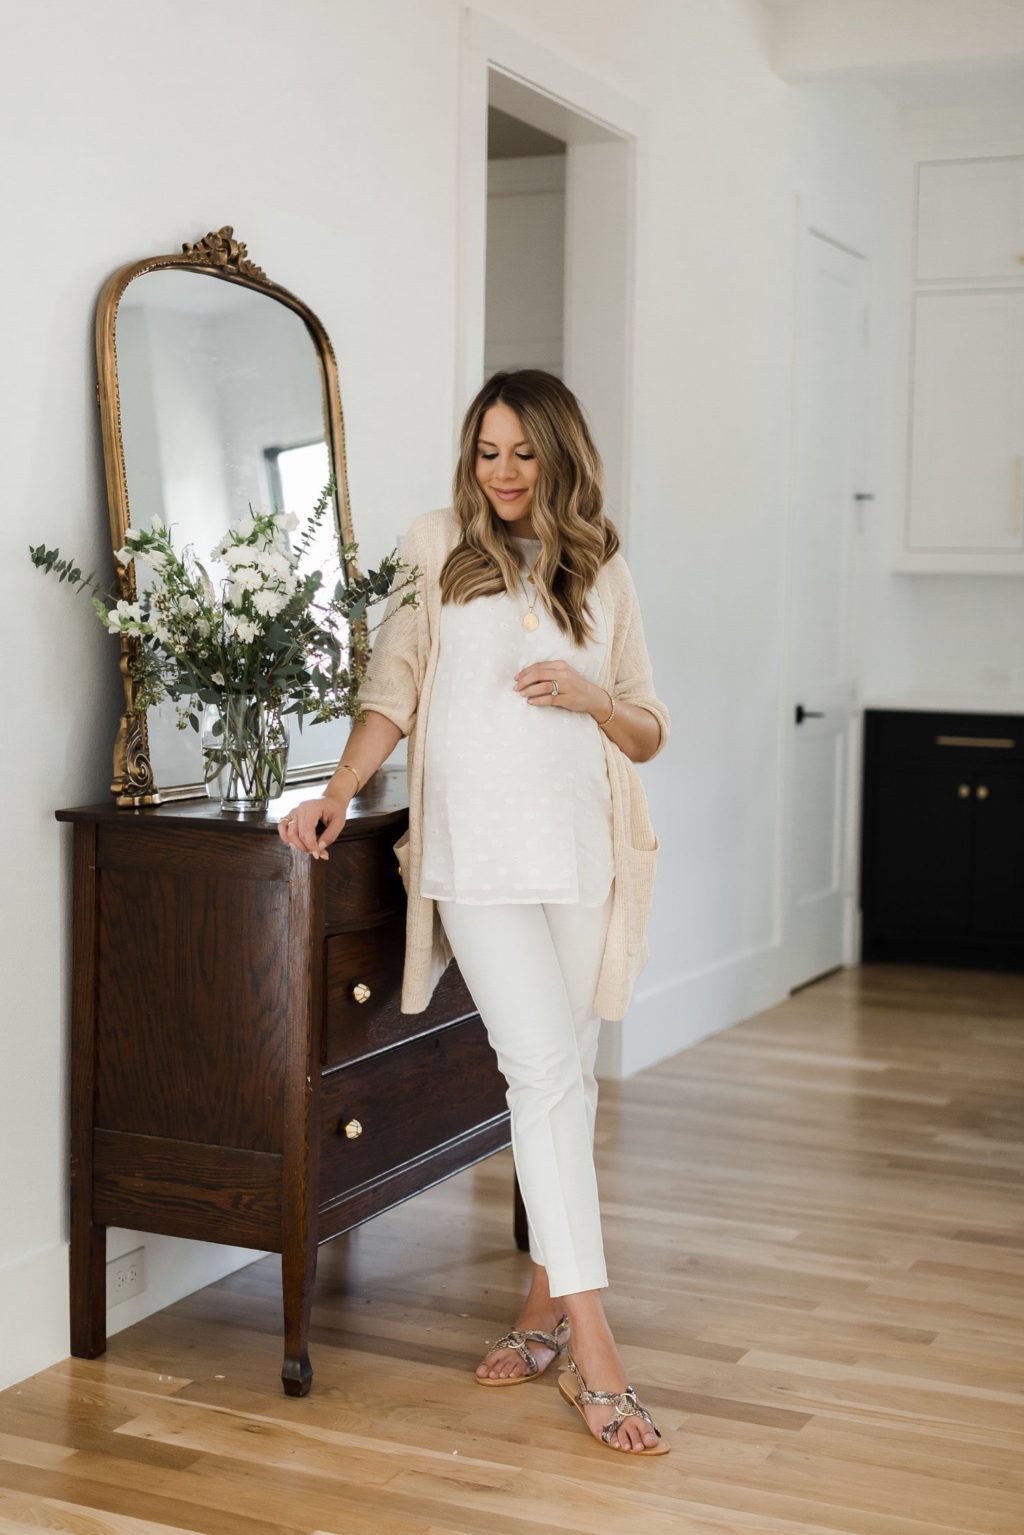
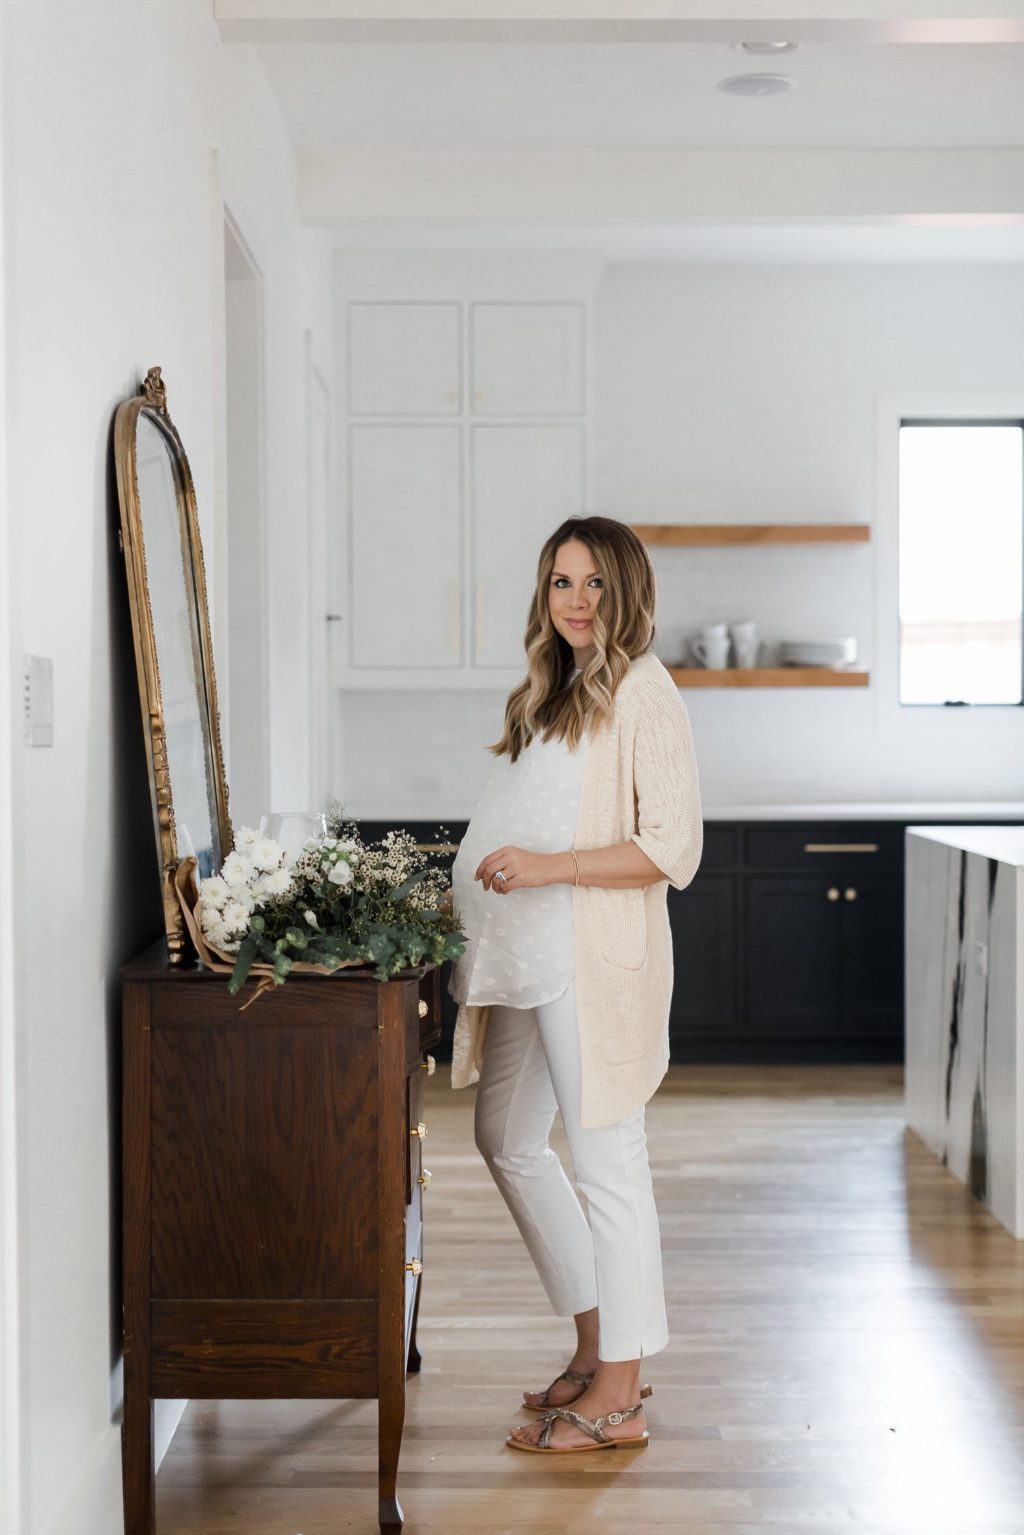
I made this arrangement to bring to our family dinner last week and it was perfect for the centerpiece. I kept my outfit very neutral (and comfortable – thank you LOFT for making maternity clothes that don’t look like traditional maternity clothes) and only wish I found these white pants sooner in my pregnancy. They are made with a thicker material (as in, they are not see through), and very comfortable and flattering. If you are pregnant, you need these pants! I’m also adding this floral jumpsuit and floral peplum blouse to my cart as a little post-baby inspo. That print is ideal for summer!
Be sure to tag me in your photos if you recreate an arrangement like this- would love to see how it turns out!
xx Ashley 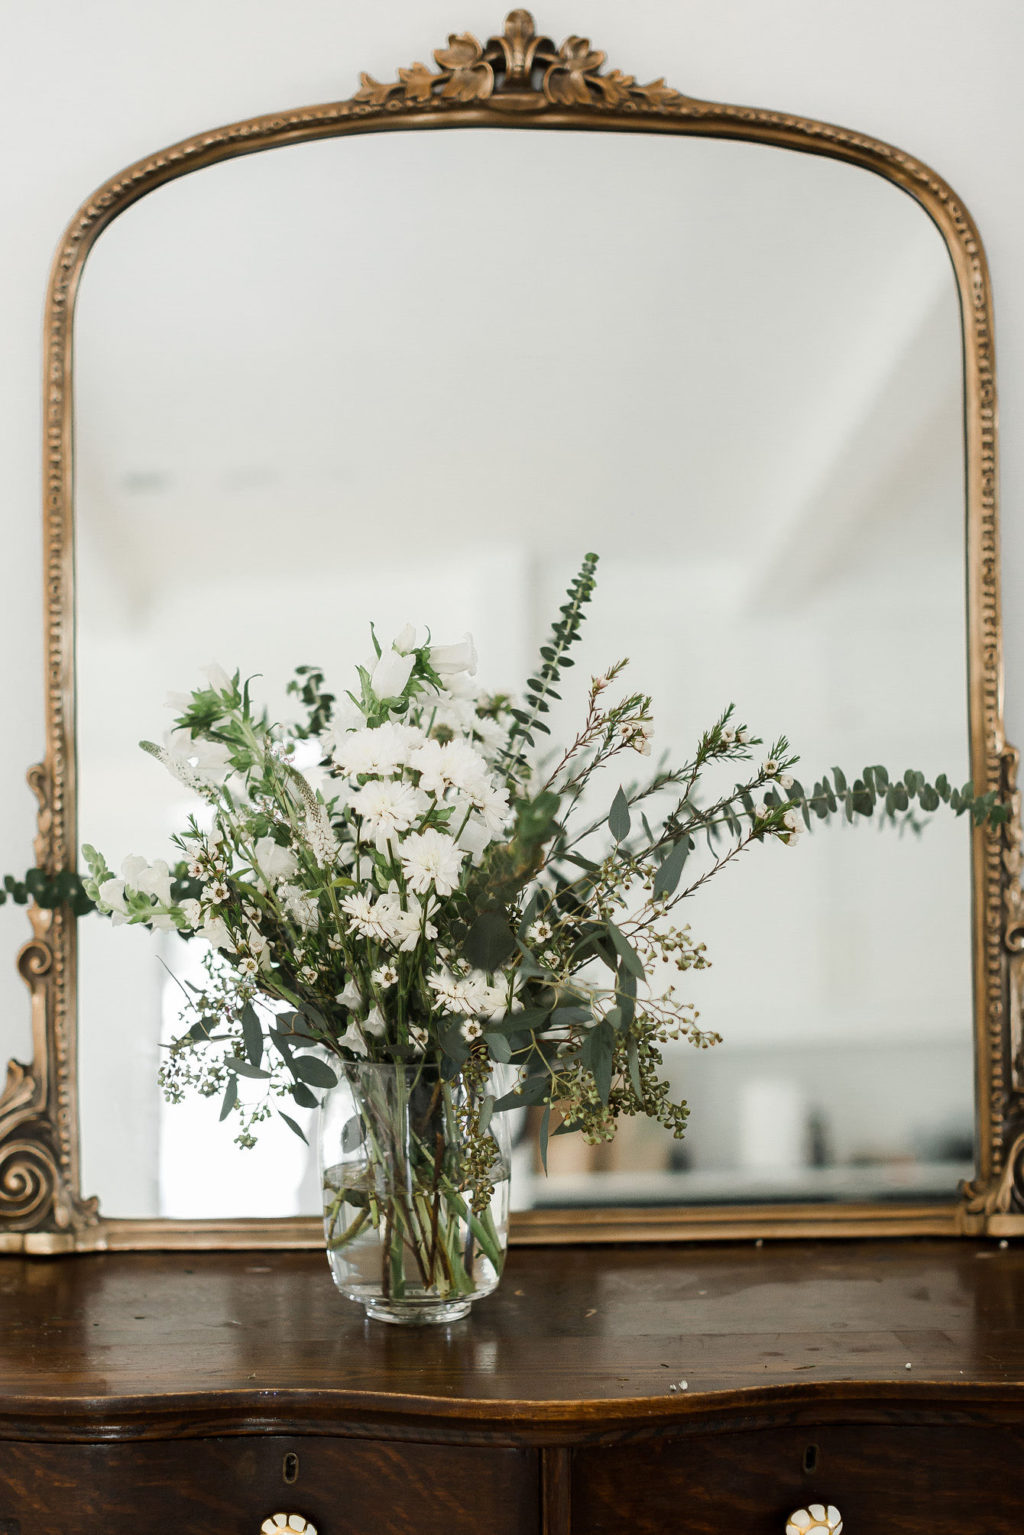
OUTFIT DETAILS:
Maternity Riviera Pants | Maternity Sparkle Daisy Ruffle Blouse | Lou & Grey Open Cardigan | Criss Cross Sling Back Sandals (these run a little small)
![]()
Thank you to LOFT for sponsoring this post. All opinions and selections are my own.
Images by Mary Hafner





Thanks for these tips! What a beautiful flower design and arrangement.
Fillers are a fun way to add to your favorite blooms with confidence! 1. Yarrow These delicate, soft flowers are often found in white, yellow, …