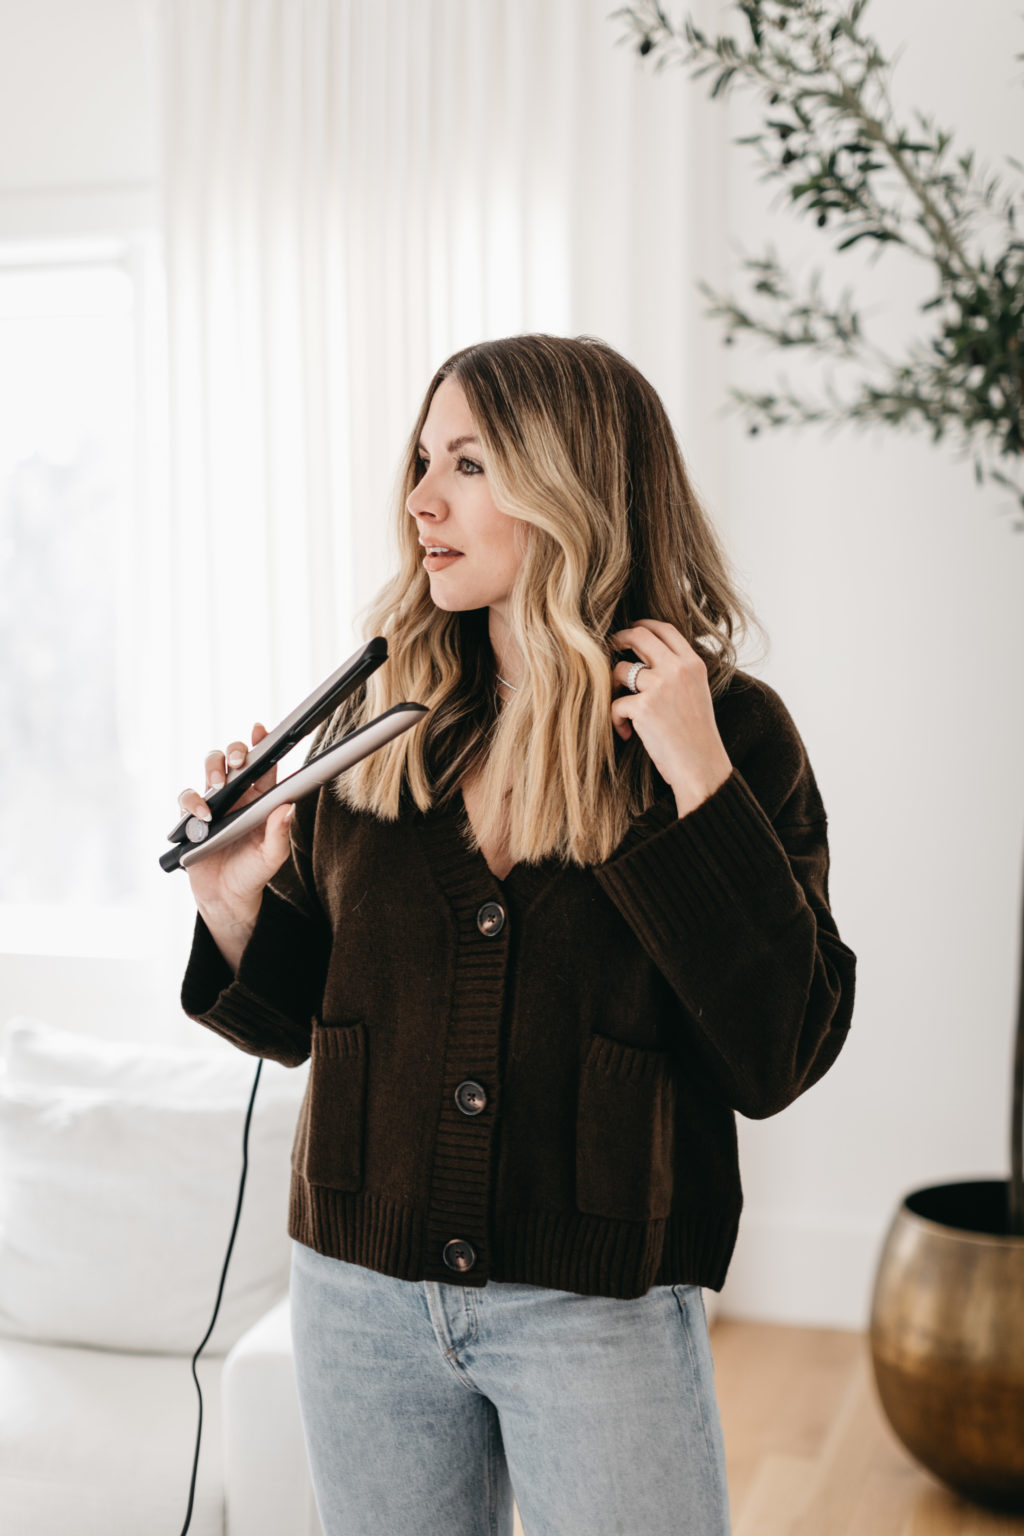
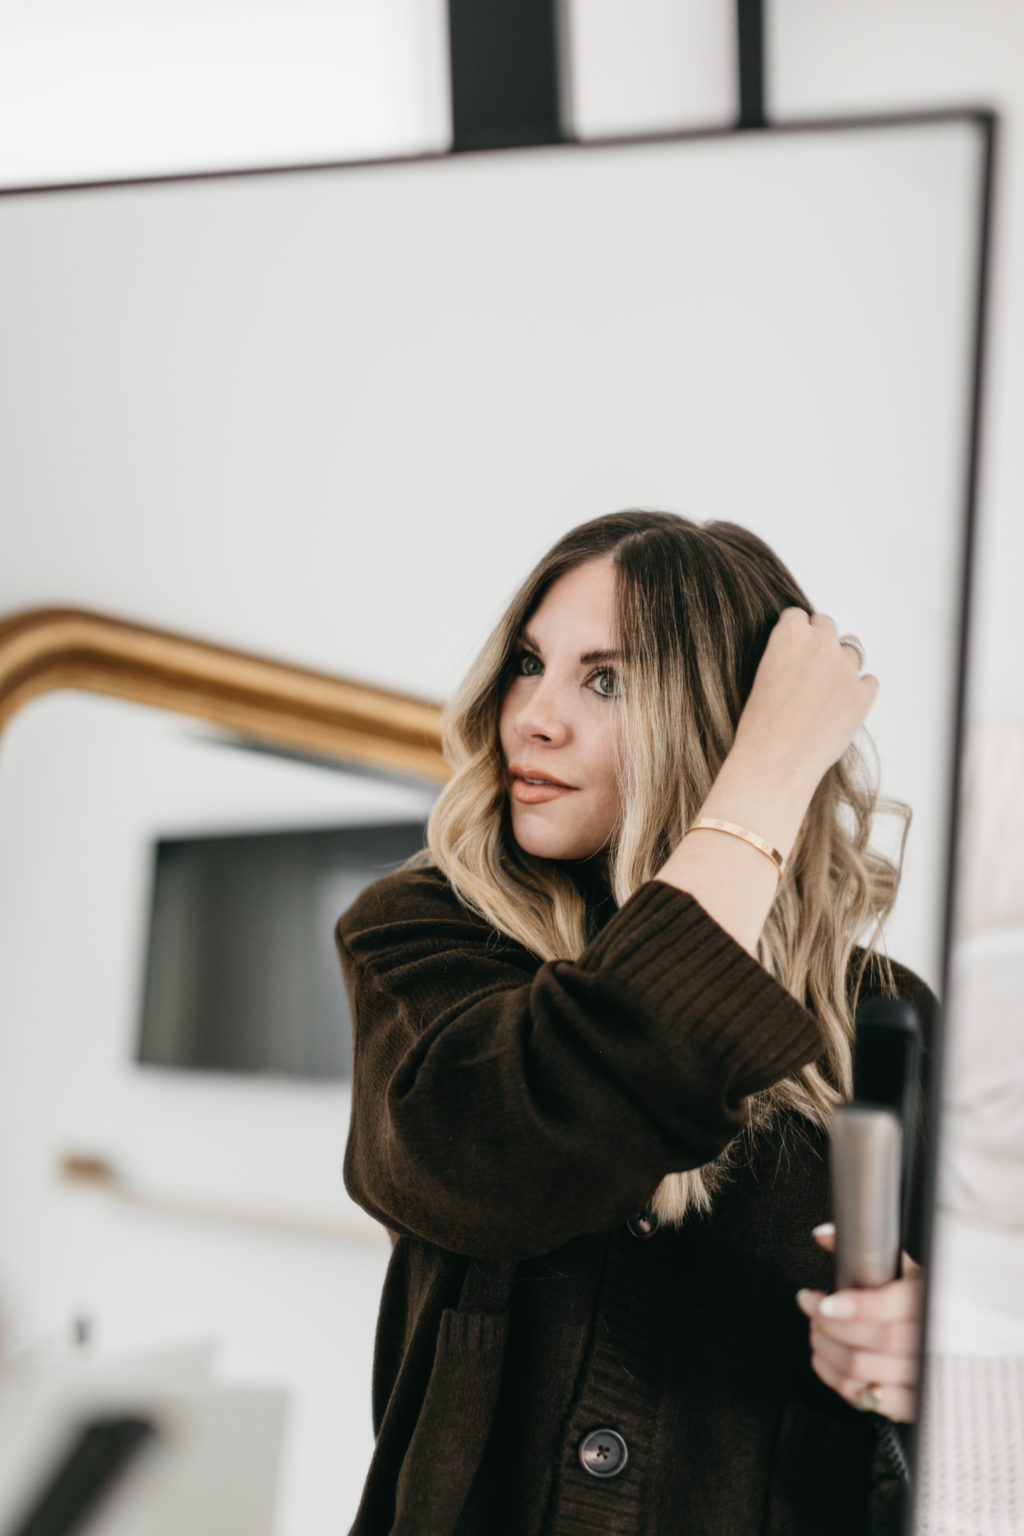
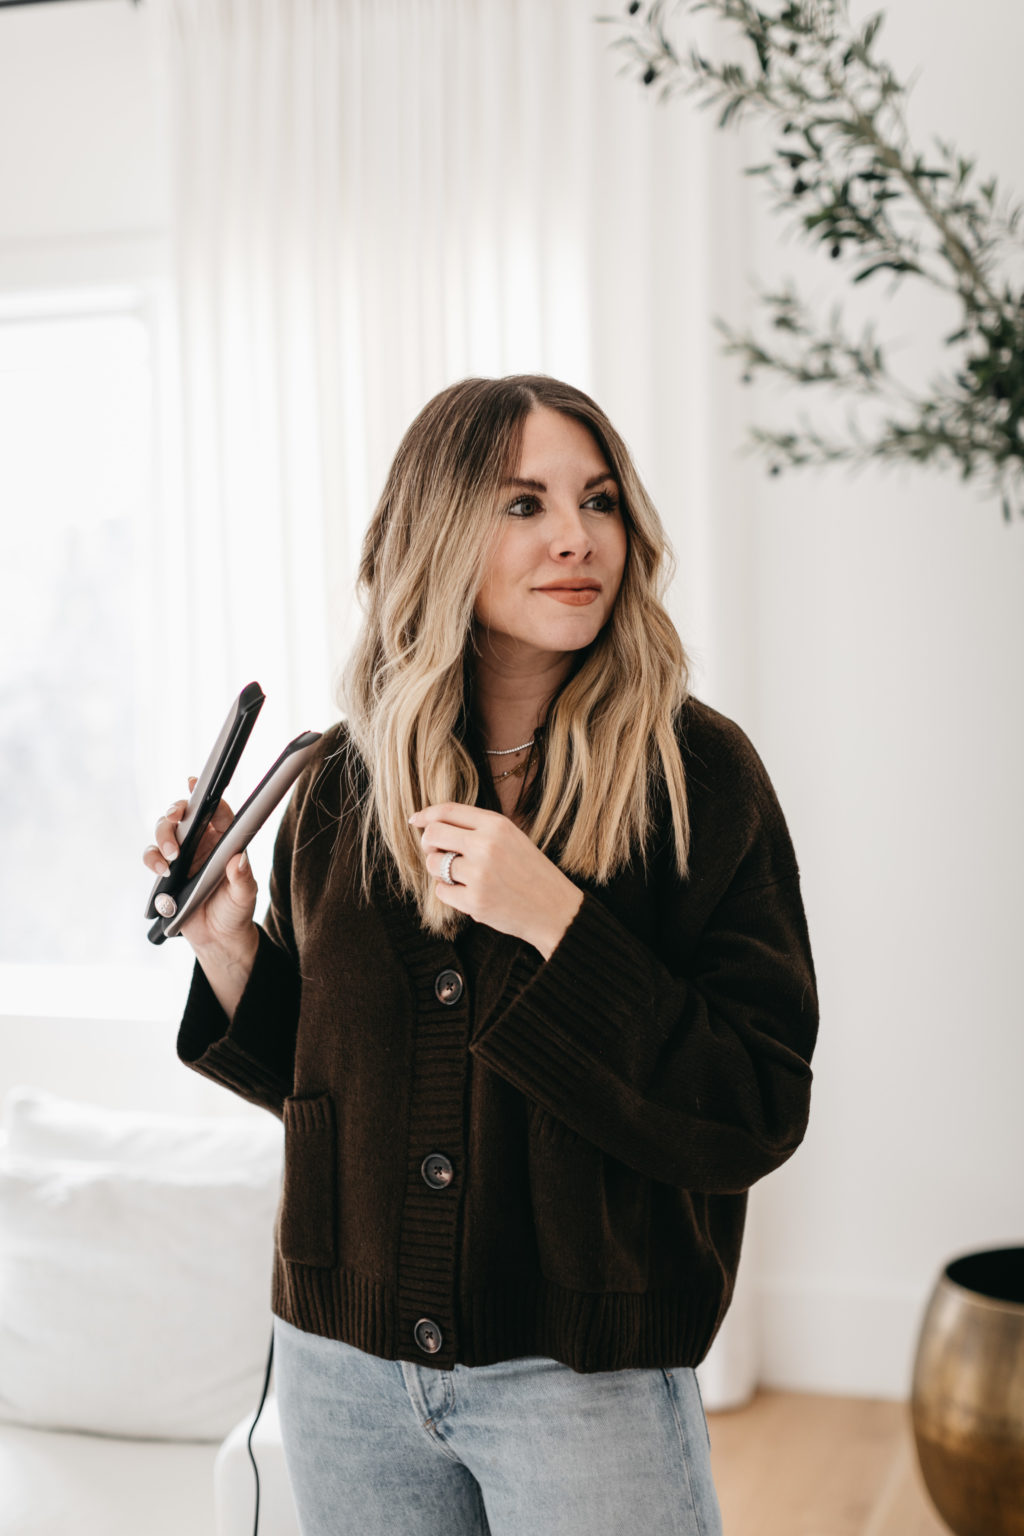
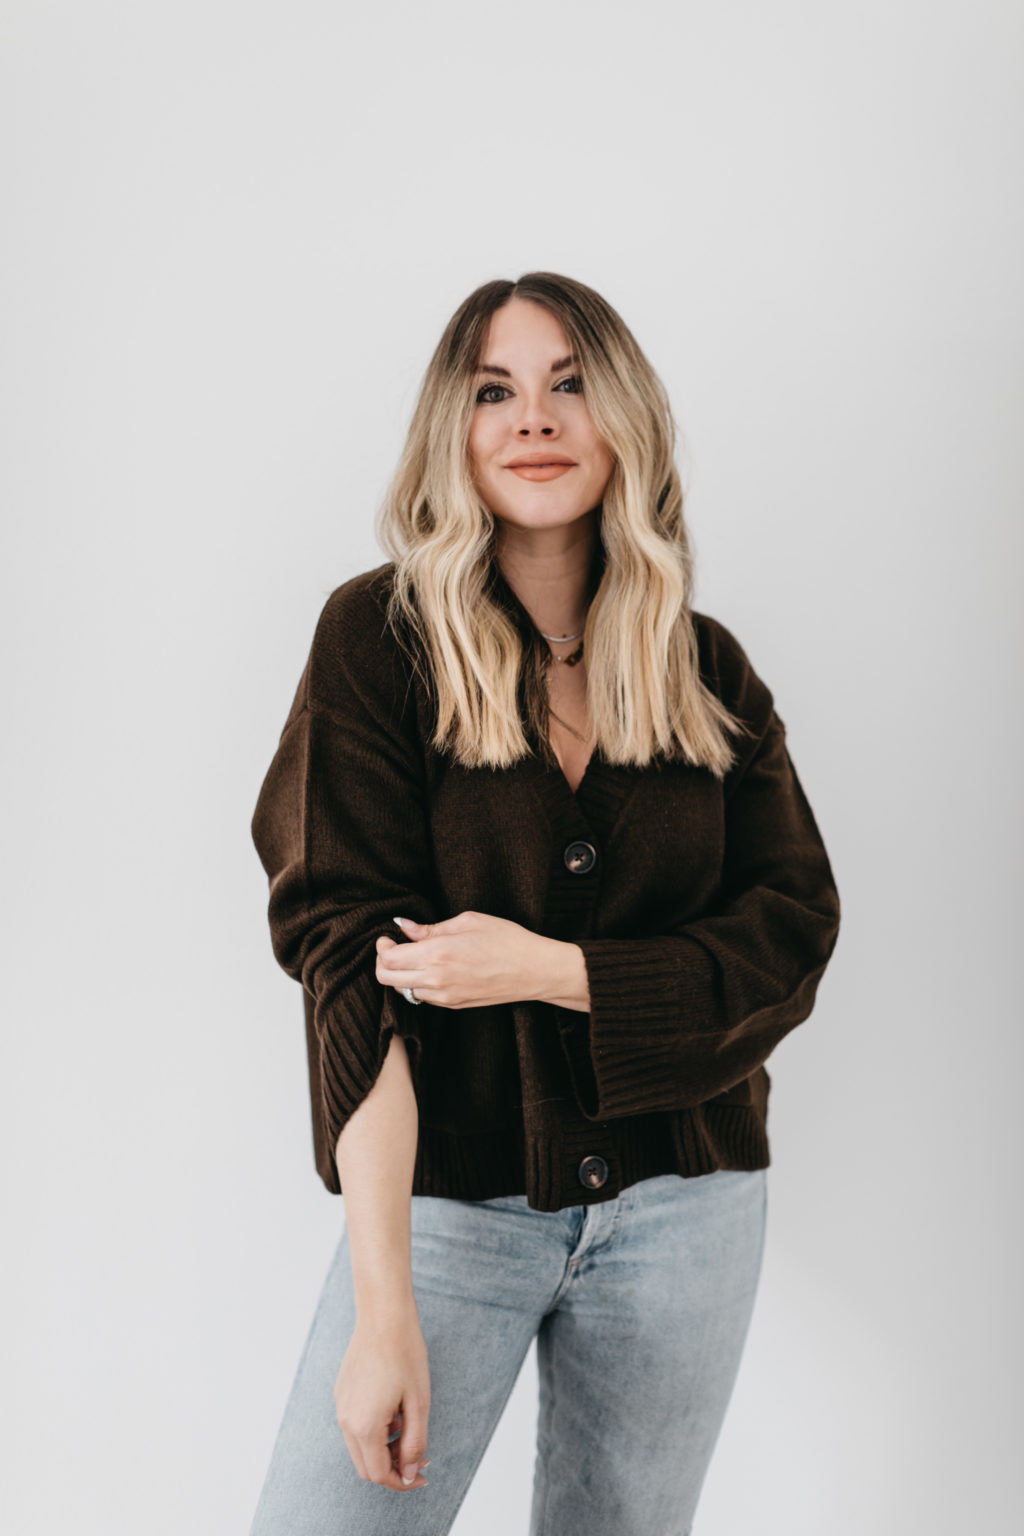
I have really enjoyed having my hair shorter. It’s honestly so much easier to style and less to manage. And as a mom of two little boys, I am all about the easy-button these days. One hairstyle that I have been particularly gravitating towards is the bent curls look. Or as my hairdresser calls it “fettuccine noodles”. It’s my favorite way to style my hair and it looks really good on Day 2, which means less work for me. Win-win.
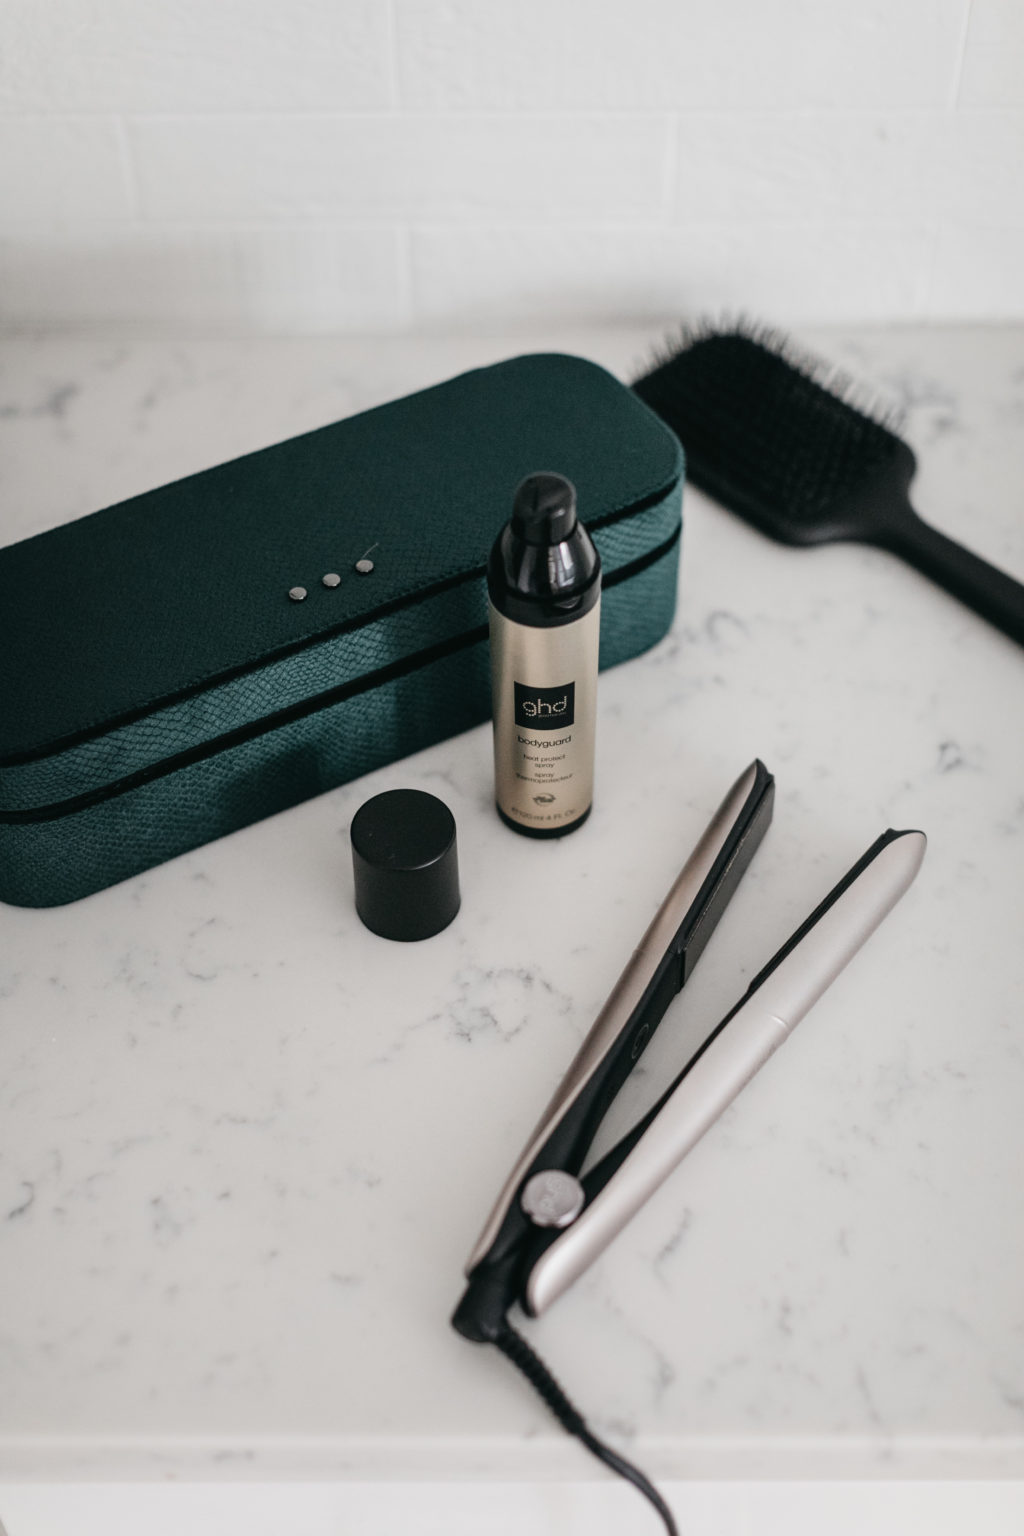
I’ve been using the Limited Edition Holiday Gold 1″ Styler to achieve this look. This styler can be used to flat iron, curl or create waves. Think of it as an all-in-one type of tool for heat styling. The ghd Gold Styler utilizes dual-zone technology for premium performance so you only need to do one pass through your hair. It has two next-generation heat sensors, one across each plate, to control the optimum styler temperature of 365ºF constantly and evenly from root to tips making it easy to curl or straighten hair. I got it at Nordstrom and it would make the perfect gift for the beauty lover.
Keep reading if you want a step-by-step look at how I get these bent curls.
Let me know if you recreate! xx Ashley
BENT CURLS TUTORIAL NOTES
KEY TAKEAWAY: The #1 way to achieve this look is to START the curl about 2 inches from your roots (see step 3 + 5), wrap hair once or twice and leave about 2 inches of hair (more if you hair is longer) sticking out. You don’t want the ends curled.
Remember, the best thing about this hairstyle is that it is not uniform and it’s ok if it’s not perfect. Trust me, it will still look good! If you aren’t familiar with using a flat iron styler for curling, give yourself some grace this first time around. You will get the hang of it after the first couple of tries.

STEP 1 – 2
Start with straight or smooth hair. Brush and section hair using claw clips. I then use a heat protectant (the GHD Heat Protect Spray smells amazing and comes out in a fine mist).
STEP 3
Take about a 1 inch section of hair. Pull down about 2 inches before starting your curl. You want it to be “straight” (not necessarily flat) on the top to achieve this look. Pull down 2 inches or so, then start to bend your wrist to make the curl. The nice thing about the GHD Styler is the outer case is designed to not get too hot allowing you to touch it and use it as you curl your hair.
STEP 4
Turn your wrist and use your other hand to help you rotate the styler so you get a complete “wrap” around the iron. This will give you the bent curl. Be sure to leave out about 2 inches of hair (or more if your hair is longer) at the ends. Do not take your curl all the way to the end. You want it to be straight at the ends to get this look.
When you are curling around your face, you want to make sure the curl goes back (away) from your face.
STEP 5 – 6
Basically repeating step 3 and 4.
STEP 7
Get a wide tooth comb (or fingers) and brush through your curls. Follow with a texture spray of choice.
![]()
This post is written in sponsorship by Nordstrom. All opinions are my own.
Images by Beckley Co.



Love that you went into so much detail! Your hair always looks fabulous!
Thank you, Lisa! x AR
Thanks for sharing this!
I have a curling iron, however it usually doesn’t get good curls and leaves my hair dry. Is it because my real skills are not good or is it because of the machine?
Can i curl my pixie hair?